In the world of gaming, few experiences rival the thrill of playing pinball. With its flashing lights, ringing bells, and fast-paced action, pinball has captured the hearts of gamers for generations. Now, thanks to advancements in technology and the growing DIY movement, enthusiasts can bring the magic of pinball into their own homes with a DIY Virtual Pinball Machine. In this guide, we’ll explore the steps to create your very own arcade-quality pinball experience from scratch.
Step 1: Planning and Design
The first step in building a DIY Virtual Pinball Machine is to plan out your design. Consider factors such as the size of the machine, the type of controls you want to use (buttons, joysticks, etc.), and the features you’d like to include (such as a digital scoreboard or multiplayer capability). There are plenty of resources and online communities dedicated to DIY arcade projects that can provide inspiration and guidance during this stage.
Step 2: Gathering Materials
Once you have a clear plan in place, it’s time to gather the necessary materials. This may include a flat-screen monitor or TV for the playfield, a smaller monitor for the backglass display, a computer or Raspberry Pi to run the emulation software, buttons and other controls, wood or metal for the cabinet, and any other components needed to bring your design to life. Many of these items can be found at hardware stores or purchased online.
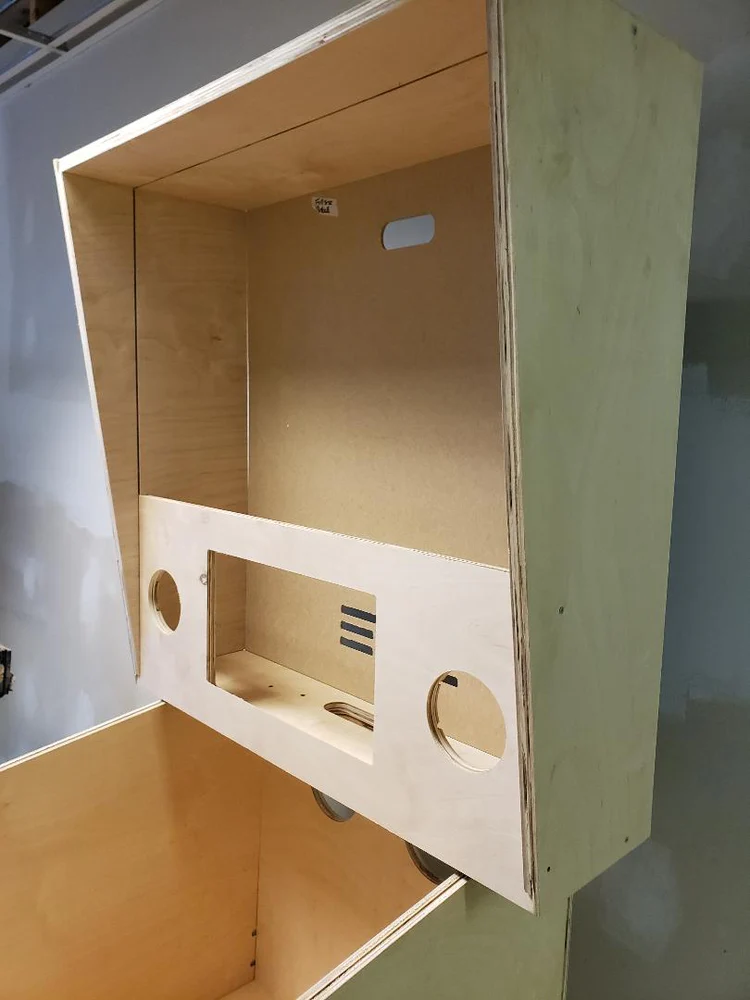
Step 3: Building the Cabinet
With your materials in hand, it’s time to start building the cabinet. This is where your design plans will come into play, as you’ll need to cut and assemble the wood or metal to create the frame of the machine. Depending on your skill level and available tools, you may choose to build the cabinet from scratch or repurpose an existing piece of furniture. Be sure to leave space for the monitors, controls, and other electronic components.
Step 4: Installing Electronics
Once the cabinet is assembled, it’s time to install the electronic components. This may include mounting the monitors, wiring up the controls, and connecting the computer or Raspberry Pi. If you’re not familiar with electronics, it may be helpful to enlist the aid of a friend or family member who has experience in this area. There are also plenty of online tutorials and resources available to help guide you through the process.
Step 5: Installing Software
With the hardware in place, it’s time to install the software that will power your Virtual Pinball Machine. There are several emulation programs available that allow you to play digital versions of classic pinball tables, as well as software packages specifically designed for virtual pinball machines. Once installed, you can customize the software to your liking, adding new tables, adjusting settings, and fine-tuning the gameplay experience.
Step 6: Enjoying Your Creation
With the construction and setup complete, it’s time to sit back, relax, and enjoy your DIY Virtual Pinball Machine. Invite friends and family over for a game night, host your own pinball tournament, or simply lose yourself in the immersive world of virtual pinball whenever the mood strikes. With your own custom-built machine, the possibilities are endless, and the fun never has to end.
Building a DIY Virtual Pinball Machine is a rewarding and enjoyable project that allows you to combine your love of gaming with your passion for crafting and tinkering. Whether you’re a seasoned DIY enthusiast or a newcomer to the world of arcade projects, creating your own virtual pinball machine is sure to provide hours of entertainment and satisfaction. So roll up your sleeves, fire up your tools, and get ready to experience the thrill of pinball like never before.